About PRODUCT Updates |
| Support |
| Site Information (is listed below. The financial planning software modules for sale are on the right-side column) Confused? It Makes More Sense if You Start at the Home Page How to Buy Investment Software Financial Planning Software Support Site Information, Ordering Security, Privacy, FAQs Questions about Personal Finance Software? Call (707) 996-9664 or Send E-mail to support@toolsformoney.com Free Downloads and Money Tools Free Sample Comprehensive Financial Plans Free Money Software Downloads, Tutorials, Primers, Freebies, Investing Tips, and Other Resources List of Free Financial Planning Software Demos Selected Links to Other Relevant Money Websites
|
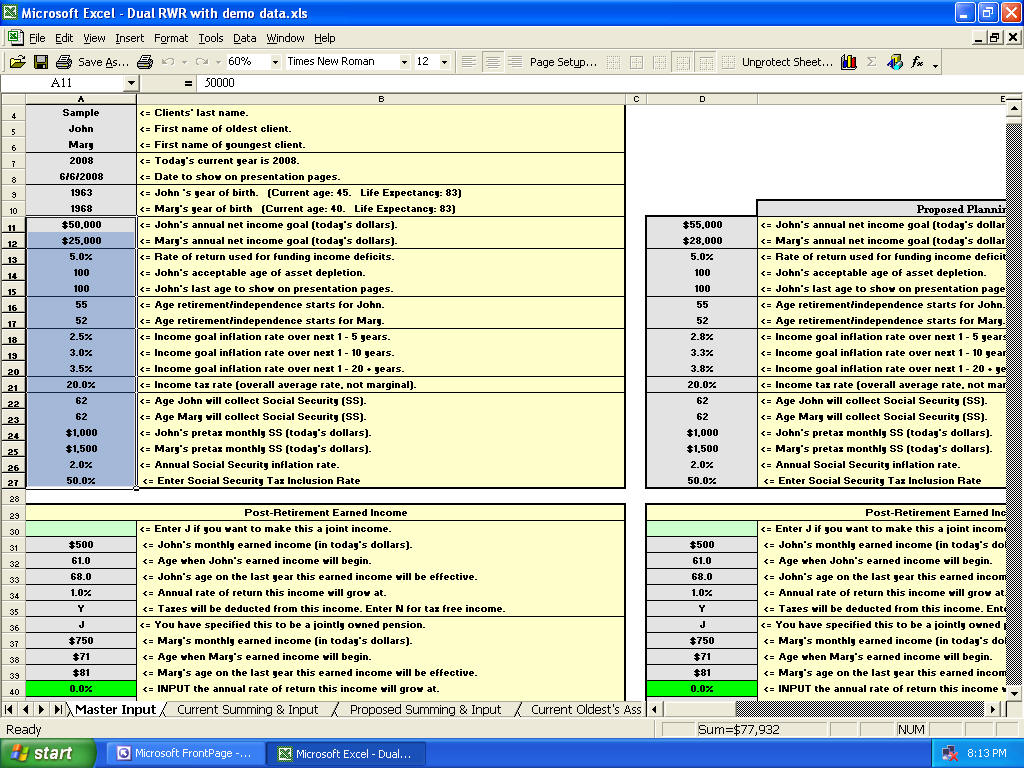
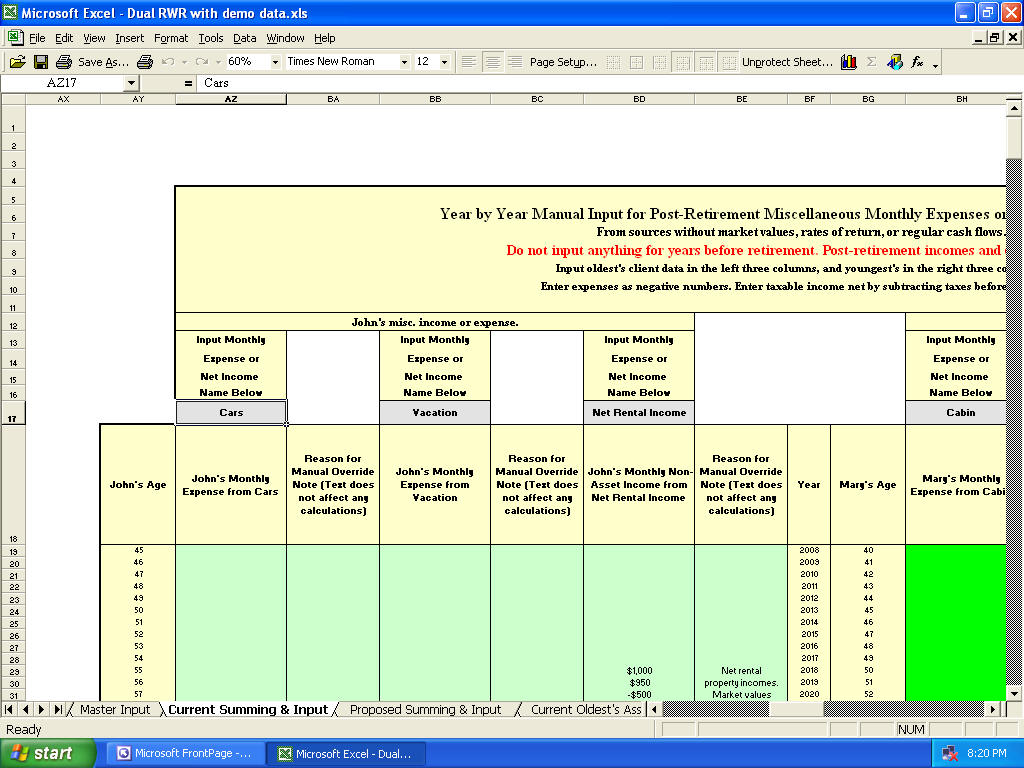
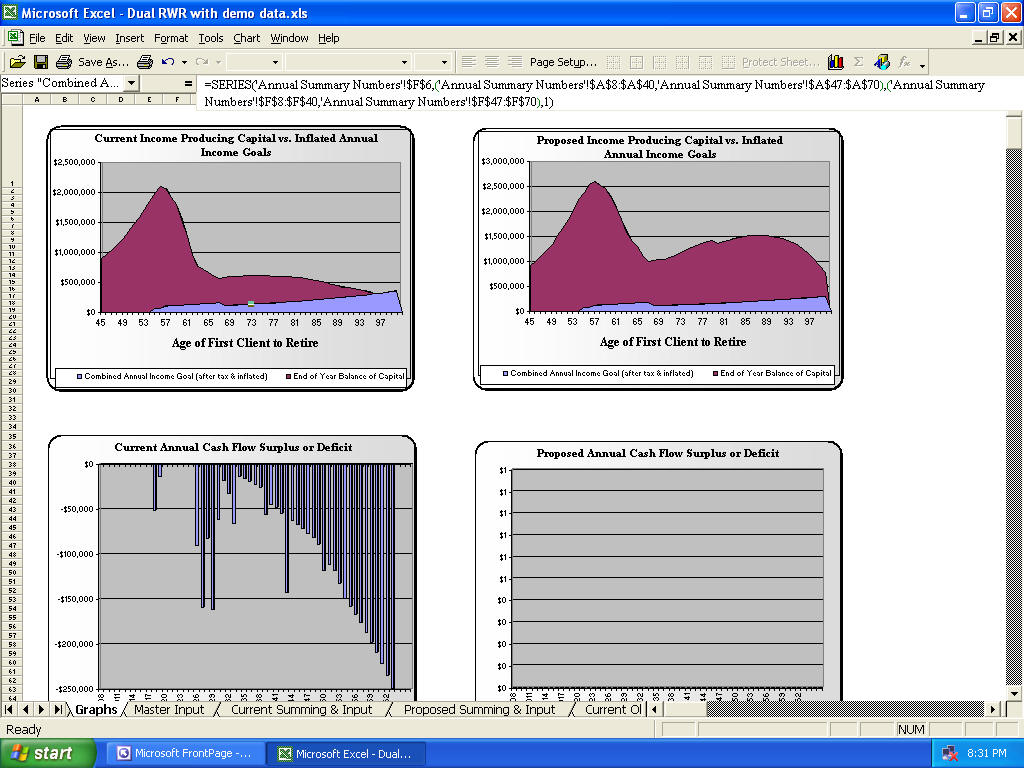
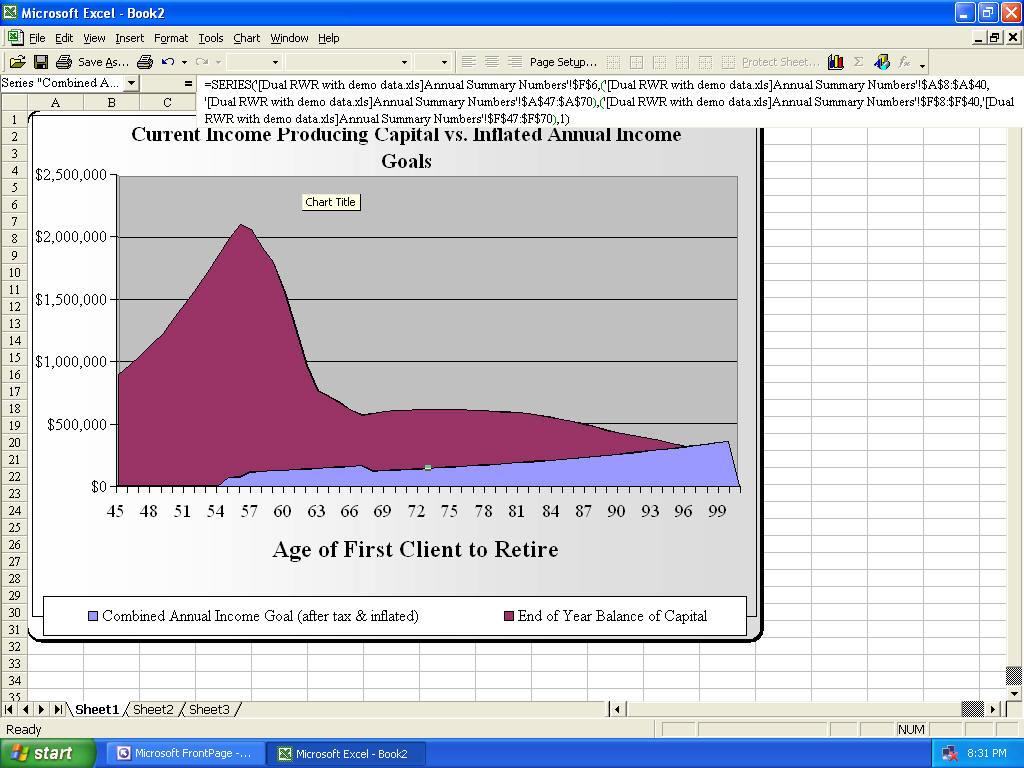
Please note that the Model Portfolios and/or Mutual Fund Picks are a monthly-updated subscription service. So not only do they always "expire" monthly, the subscription needs to be paid monthly, or you'll just stop getting them in your e-mail. So these two money softwares are both a service. Information on updates and maintaining your software. Note WE NO LONGER SUPPORT software. I just left this here as reference for those that might need it. How to Update Old Spreadsheets with Client Data into the New Version There is now an "automatic method using macros. Before, you had to copy and paste inputs. Sometimes it's built-in, and sometimes it's a separate spreadsheet. So each module has its own updater macro workbook or worksheet. All you do is rename the old version to "oldFile name.xlsx;" and then have the updater, the new version, and the renamed old version open. Then you just "click a button" and then a macro magically copies all of the input data from the old version (oldFile name.xlsx) in the new version. Then just save it, and you've updated. Now change inputted ages everywhere it asks for it because people are usually another year older when this happens (you would have had to do this with the old one too, even if it didn't expire). Change the current year if needed too if there is an input cell for that (you would have had to do this with the old one too even if it didn't expire). Here's the Old "Manual Method": First, one of the reasons why this is based on Excel, is because there's only a couple-minute copying and pasting process from old to new version to update, and you're good. Excels allows you to permanently keep your inputted client data. With code-driven software, you could lose everything when it goes away, there's a new version, or it expires, or you just don't pay more money in one way or another. It only takes a minute or two to update an old client's program to the new one using the old manual method. Here's how to do that: A program expiring did not do anything to harm the input data of the old workbook. Only the calculations are non-functional (which make the presentation sheets and graphs not work). Next, another method is to just put screen prints of your input into a Wood docx. Just get input on your screen, like the image below, then press the Print Screen key. This copies what's on your monitor onto the Windows clipboard. Then open a new Word docx; paste, and the image is there. Then do a Page Break, and continue until all of your input is in the docx. Then use it to manually duplicate input into the new program. You can then do it via another open Window, or by printing the screen prints (or by printing just the input areas via Excel, but screen prints are easier than that). Then you won't have to do any of the following steps. Updating By Manually Copying and Pasting Inputs Open both the old and new workbooks. If you want to have both old and new workbooks open at the same time, you may have to rename the old version to be something different first, because you can't have two files with the same name open at once. Go to the main input sheet on both. A tip to switch between open workbooks in Excel is to press Control Tab. The goal of all of this is to copy and then use the Paste Special feature to get the old input data into the new workbook. Here is Dual RWR's Master Input sheet as an example: The range A11:A27 was highlighted. When input cells are all together like this, it's much faster to copy and paste them in chunks. If you would have tried to copy A10:A27, then you'd get an error because then you'd be pasting to cell D10, which is a protected non-input cell. Only copy and paste into green or gray input cells. On input and calculation sheets, if you try to paste to a protected cell, you'll get an error (and nothing will paste). Now go to Window and switch to the new program (or press Control Tab). Go to cell A11. Do not just paste! The reason is that the input validations may be discombobulated. This gives you meaningful error messages and tells you what you did wrong and how to fix it, when you make a mistake. Right click and choose Paste Special, then choose Values. This will paste just the values of the cells, and won't overwrite any of the formats or validations. Another Excel design flaw is that the validations should not paste into protected sheets, even though the cell is unprotected, but they do. When input cells are not together, like in the image below, then you'll have to do it one cell at a time. Here just cell AZ17 was copied. Be sure to copy and paste ALL input cells into the new program, everywhere, including all of the manual overrides. If you didn't modify any of the presentation sheets, then this is all you'll have to do. The old workbook now is mostly useless and can be deleted as long as you saved the new one. Now change inputted ages everywhere it asks for it because people are usually another year older when this happens (you would have had to do this with the old one too, even if it didn't expire). Change the current year if needed too if there is an input cell for that (you would have had to do this with the old one too even if it didn't expire). If you try to paste into cells that are not green (or gray) then you will get the protection error. Next, how to get the custom modifications you made on presentation sheets from the old program to the new one (this is only if you made custom changes that you want to import into the new version): The biggest error here is that people forget to unprotect the sheet first. The presentation sheets may be protected, but there is no password, so you can just go to Review, Protection, Unprotect sheet. So first, make sure both the old and new versions are not protected. Go to cell A1 of the new version. Click the gray square before cell A and 1 to select all cells. Press the delete key. This will delete everything, but some graphs you don't want, or have modified, may stick around. If you want them, then don't delete them. If you don't, then click on each graph to select it and then press the delete key as many times as it takes until it's gone. Repeat until everything is gone. Go back to cell A1 on the new version. Go to cell A1 of the old version. Press Control A to select everything. MS broke this in 2013, so click on the cell above A and to the left of 1 now. Then press Control C to copy. Go to the new version, and press Control V to paste. Ensure you're still on cell A1. You may want to manually copy and paste each modified graph into the new version one at a time. If you do, then there is another Excel design flaw: It's still going to reference the data on the old workbook. It's a flaw because it should ask you which workbook you want the data to come from beforehand. The images below first show the old version, then the new. When the top left graph was copied into the new workbook, the formulas still reference the old one (too small to see).
You'll need to change them to reference the new version. Here's how to do that if it's just one graph: If it's more than one, then the best thing to do is to edit the links. How to do that: First make sure the sheet and workbook are not protected. Go to Edit, Links (this is under the Data tab in Excel 2007+). Click on the external link that points to the old workbook. Click Change Source. Now browse until you find the new workbook, and then choose that. Now all of the external links will point to the new workbook instead of the old one. How to do it one graph at a time: First regular left click on the graph. Then press the up or down arrow key until you see the formula like in the image above. For the old version, it looks like this: =SERIES('Annual Summary Numbers'!$F$6,('Annual Summary Numbers'!$A$8: $A$40,'Annual Summary Numbers'!$A$47: $A$70),('Annual Summary Numbers'!$F$8: $F$40,'Annual Summary Numbers'!$F$47: $F$70),1) The formulas in the new version look like this: =SERIES('[Dual RWR with demo data.xls]Annual Summary Numbers'!$F$6,('[Dual RWR with demo data.xls]Annual Summary Numbers'!$A$8: $A$40,'[Dual RWR with demo data.xls]Annual Summary Numbers'!$A$47: $A$70),('[Dual RWR with demo data.xls]Annual Summary Numbers'!$F$8: $F$40,'[Dual RWR with demo data.xls]Annual Summary Numbers'!$F$47: $F$70),1) All you'll need to do is copy and paste them from the old one into the new one (assuming you didn't change the sheet names of the sheet where it's getting its data from). So highlight the whole formula, then copy, go to the new one, delete, then paste. The thing to keep in mind is that you'll need to do this for each series in the chart. A series is data that makes up something in the chart. In the images above, there are two series, one for the purple and one for the blue areas of data. You scroll through the series by pressing the up or down arrow when you're inside a chart. Be sure that you copy and paste the correct old version's series into the new version. The way to tell is the very last number in the formula, in this case this is Series 1. Keep in mind that you only have to do this when you've modified a chart and want to use it in the new version. If you didn't delete the new charts, then they should work just like the old ones (probably better as things always improve). If your modification was simple to an existing chart, then you can probably get away with just copying and pasting the chart formulas from the old one to the new one. We hope this helps. Please comment if you don't understand, something is missing in this section that needs to be covered, something needs to be clarified, etc. |
Financial Planning Software Modules For Sale (are listed below) Financial Planning Software that's Fully-Integrated Goals-Only "Financial Planning Software" Retirement Planning Software Menu: Something for Everyone Comprehensive Asset Allocation Software Model Portfolio Allocations with Historical Returns Monthly-updated ETF and Mutual Fund Picks DIY Investment Portfolio Benchmarking Program Financial Planning Fact Finders for Financial Planners Gathering Data from Clients Investment Policy Statement Software (IPS) Life Insurance Calculator (AKA Capital Needs Analysis Software) Bond Calculators for Duration, Convexity, YTM, Accretion, and Amortization Investment Software for Comparing the 27 Most Popular Methods of Investing Rental Real Estate Investing Software Net Worth Calculator (Balance Sheet Maker) and 75-year Net Worth Projector Financial Seminar Covering Retirement Planning and Investment Management Sales Tools for Financial Adviser Marketing Personal Budget Software and 75-year Cash Flow Projector TVM Financial Tools and Financial Calculators Our Unique Financial Services Buy or Sell a Financial Planning Practice Miscellaneous Pages of Interest Primer Tutorial to Learn the Basics of Financial Planning Software About the Department of Labor's New Fiduciary Rules Using Asset Allocation to Manage Money Download Brokerage Data into Spreadsheets How to Integrate Financial Planning Software Modules to Share Data CRM and Portfolio Management Software About Efficient Frontier Portfolio Optimizers Calculating Your Investment Risk Tolerance |
© Copyright 1997 - 2018 Tools For Money, All Rights Reserved


